Monday, August 27, 2012

Here's a quick rundown of the projects I have, and have completed. 2000 Roadstar 1600 stage IV yamaha Star racing kit Don Gray "bobstar" frame American Suspension "dragon slayer" springer Arlen Ness wheels with Avon tires paint by James Dean Rebel Design fenders by RC Components polished 45mm Mikuni exhaust by Don Gray NOS nitrous system Arlen Ness drive pulley/brake rotor. This is a bike that i built for a close friend, and continue to maintain, it was in a horrible accident about 4 years ago and has been restored to what you see in the picture, and since then it has won easy rider and various other shows
1996 Kawasaki zx7r fighter "GREEN MACHINE" 2004 zx636 tail section dirtbike bars and risers muzzy exhaust, shortened (still in progress)
1972 Honda cb750 "BETSY" Santee custom frame Roadstar 1600 front end Honda VT1300 Sabre tank Harley Sportster rear fender Santee electrical box and oil tank Cobra king/queen seat (still in progress)
and my newest addition 2001 Honda Shadow VT1100T "LOW-LITA" intentions: custom headlight short apes custom exhaust relocate taillight and flush mount blinkers into hardbags I have allready removed windshield and passenger seat and rear rack to give it a low bagger look. more to come.
well... i finished this project, and sold it. I kind of miss the old beast, i may buy another one and do it again. cb750's are a little easier to come by. but heres a pic of the final product

Sunday, April 4, 2010

all I have left to do is mount the rear fender, and make my forward controls. more to come soon.....


so with the rear tank mount done I made the front mount, the seat mounts, and mounted the battery box

Then I made a new mount on the frame for the tank.


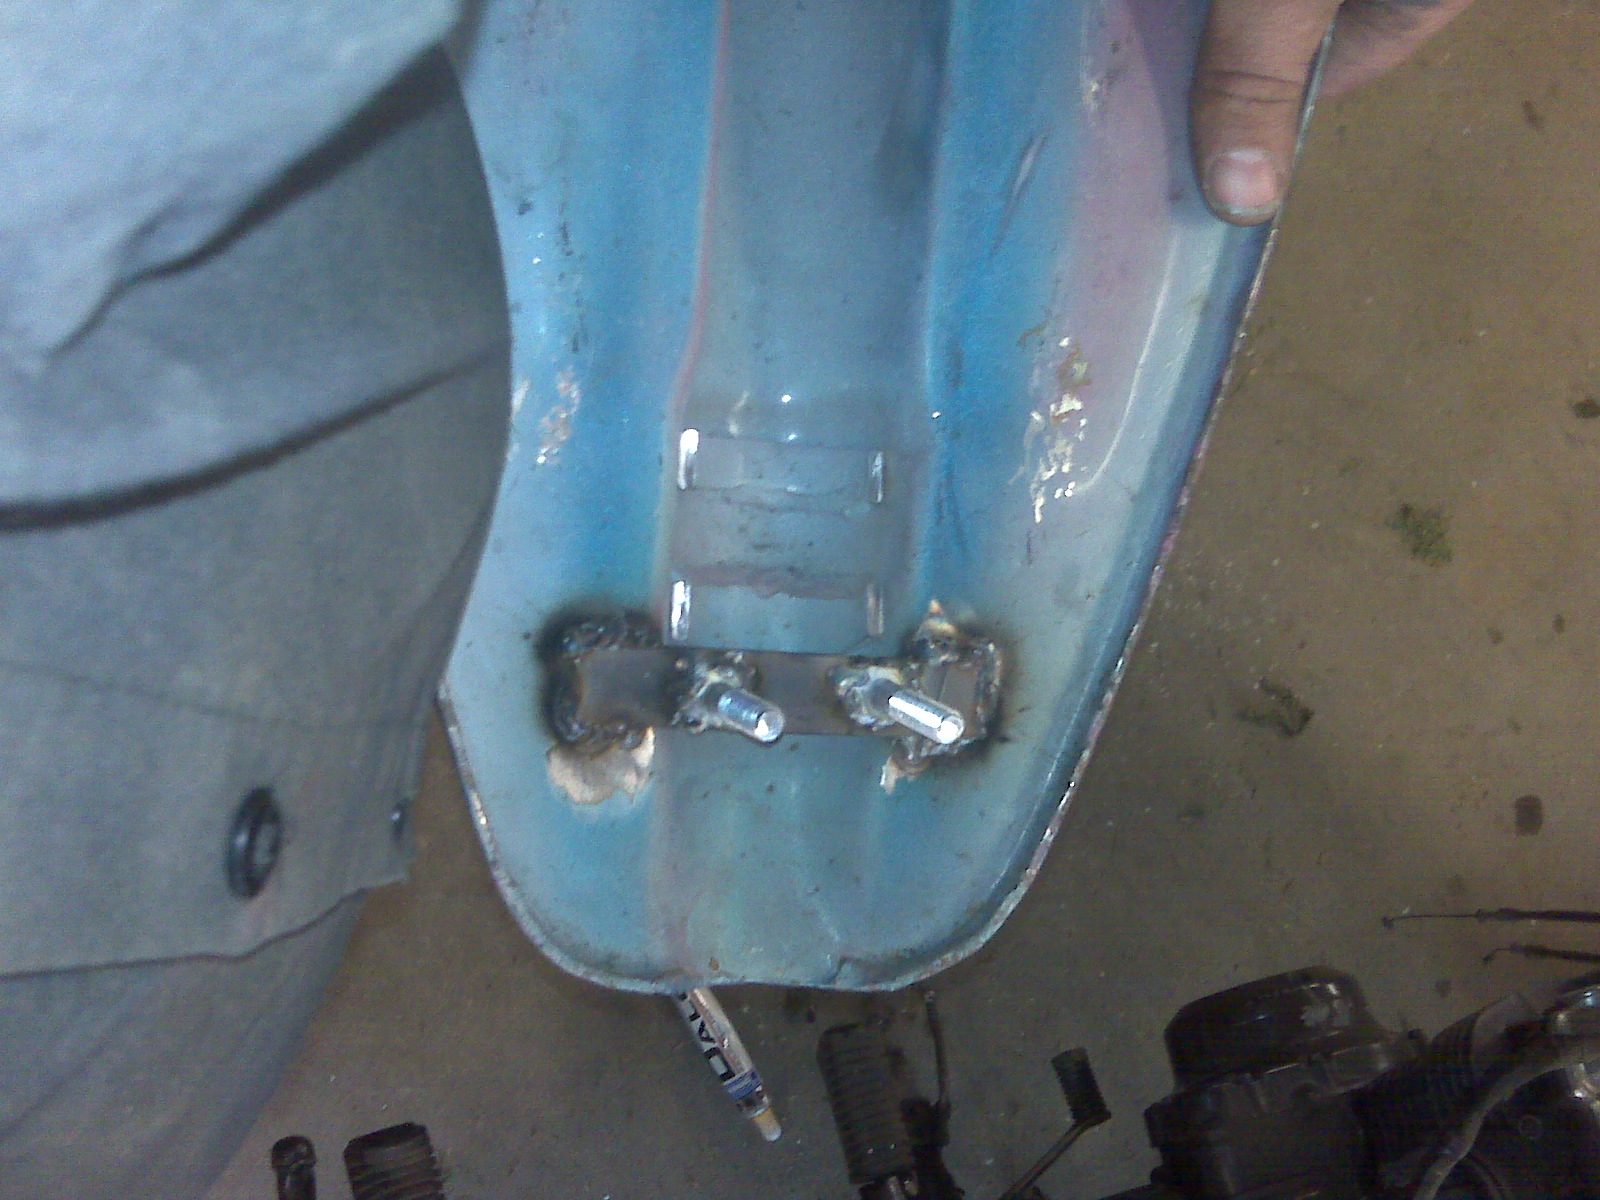
So the stock rear mount was not going to work so I cut it off and made a new one, basically just a piece of plate with 2 bolts welded to it.


So i fished through craigslist and found a nice sporty tank for $40.

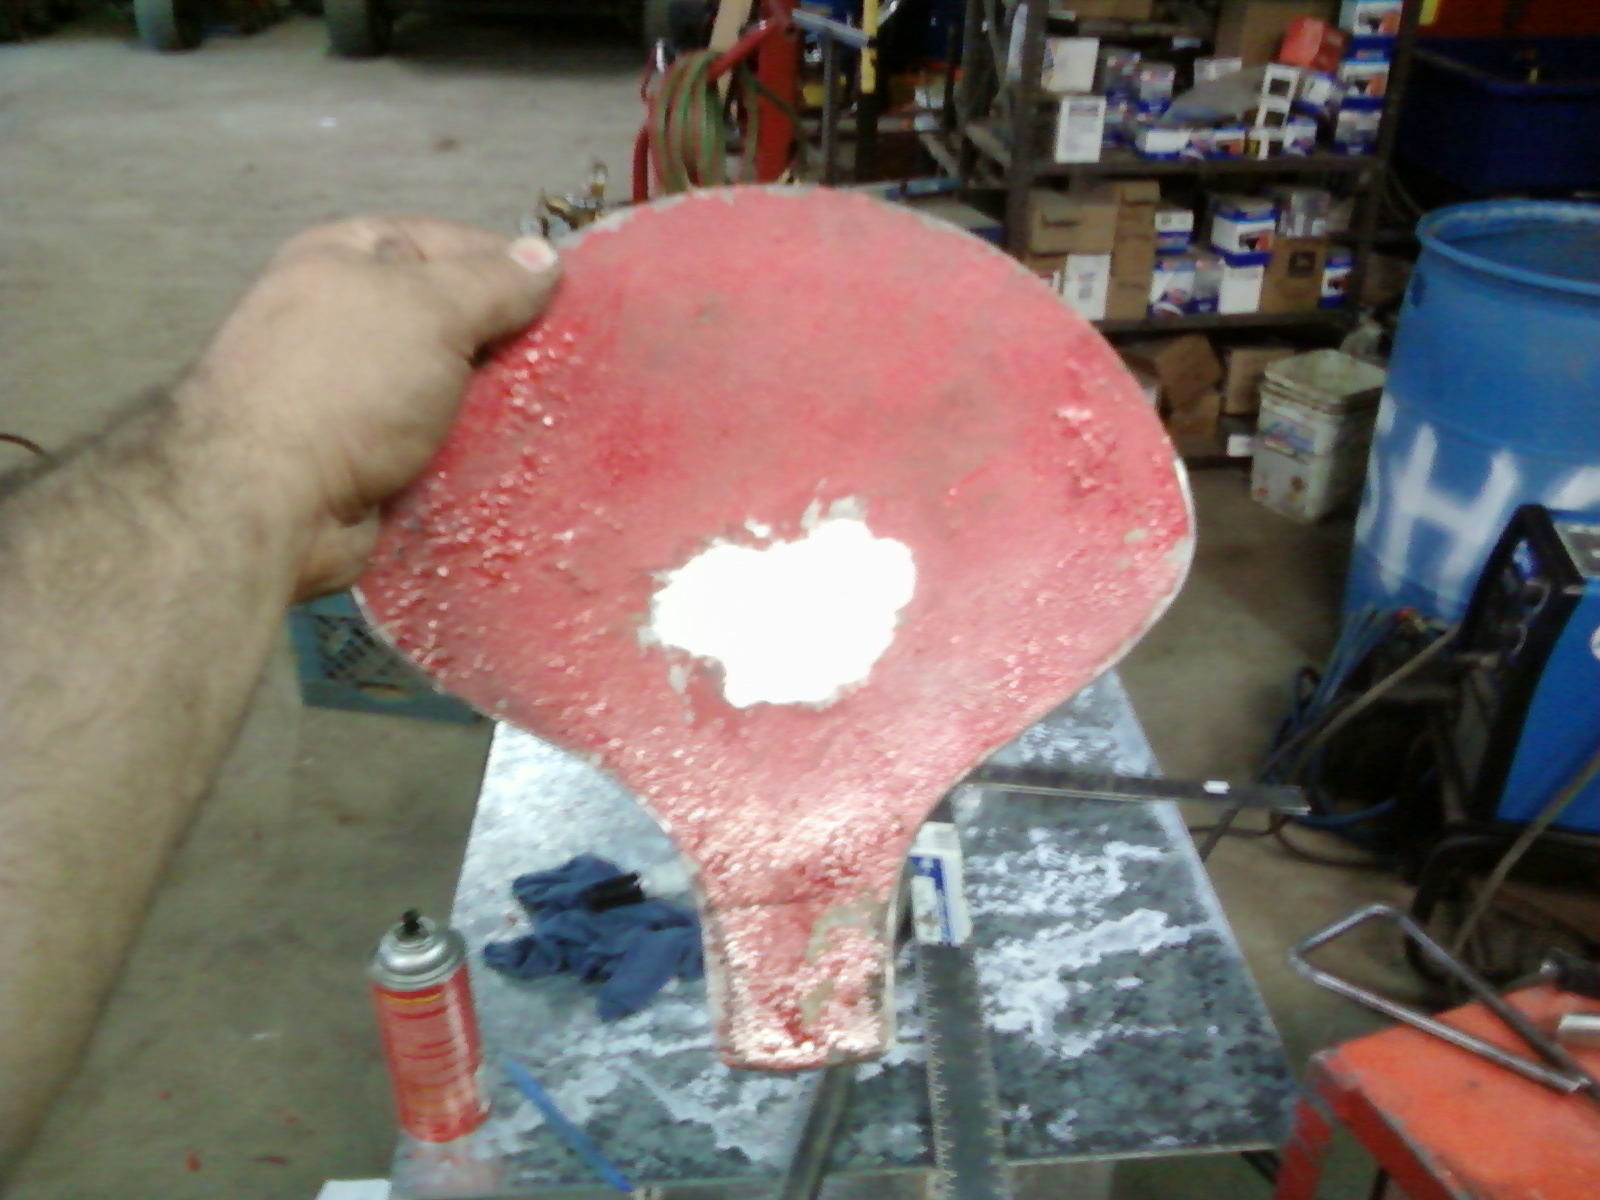
a little cutting and grinding, and voila! a seat pan


so i drew one side to get the curve i wanted, then laid a sheet of paper over it, traced it, and transposed to the other side.


next came the seat.....so I am building this bike on a budget. I work at a golf course and my boss is nice enough to let me use the shop while building. The tools i have for fabrication are a chop saw, die grinders and cutting wheels, angle grinder, O2/acetylene torch, and a wire feed welder. so I take everything I can get. Where am I going with this.... above is a bottom pan from a broken trash receptacle from on a golf course... my new seat >;-)


then i cut some "coins" out of piece of plate and welded them in the holes and smoothed them out.


next it was time to cut the lateral support tubes and clean the frame up.


then I made the mounts for the rear shocks. I started with four pieces of steel 1/8" thick 2x3". clamped all four together and cut them at the same time with the torch and then ground them to the shape i wanted and they would all be equal. welded them into place and attached my rear shocks


so I really wanted to keep the hard tail look but not make my kidneys and back suffer. so I rotated the shocks forward to meet the section of backbone that I have fabbed. i will make the mounts later.